My Loose Curls Tutorial: Barrel Curling Iron
My Loose Curls Tutorial: Barrel Curling Iron
Have you been stumped on how to do loose curls with a curling iron? You’re not alone.
I remember when I got my very first curling iron. I was in middle school and I wanted to use it before meeting up with some friends at the mall.
I pulled it out and just straight up struggled. I even remembered trying to figure out how to do it on YouTube but this was before the age of influencers and hair gurus.
My point is, I’ve been there but it’s actually easier than you might imagine to create everyday, loose curls with a curling iron and that’s exactly why I wanted to write this blog post.
This guide will walk you through the process, step-by-step, to help you master loose curls with a curling iron.
2008 Austen would have greatly benefited from this tutorial and I hope it helps you too.
What you’ll need:
Also recommended:
Shop the post:
1. Turn the iron on
First things first, plug in your barrel curling iron and turn it on. If you’re not sure what temperature to use, consider these settings as a starting point depending on your hair type:
Fine or damaged hair: 300-350°F
Normal hair: 350-400°F
Thick or coarse hair: 400-450°F
Allow it a few minutes to heat up.
2. Brush through your hair
Make sure your hair is completely dry before you start curling to avoid any damage.
Brush through your hair to remove any tangles. This will help ensure that the finished result of this process will be smooth, beautiful curls.
3. Separate your hair
Divide your hair into two main sections using a clip or hair tie. This will make it easier to manage and ensure that you don't miss any strands.
You can even separate further into quadrants and curl the bottom of your hair first and then the top.
My hair is thin and straight so I don’t really need to do this but you might want to if your hair is thicker.
Pro tip: I like using silk scrunchies whenever possible because they won’t damage your hair
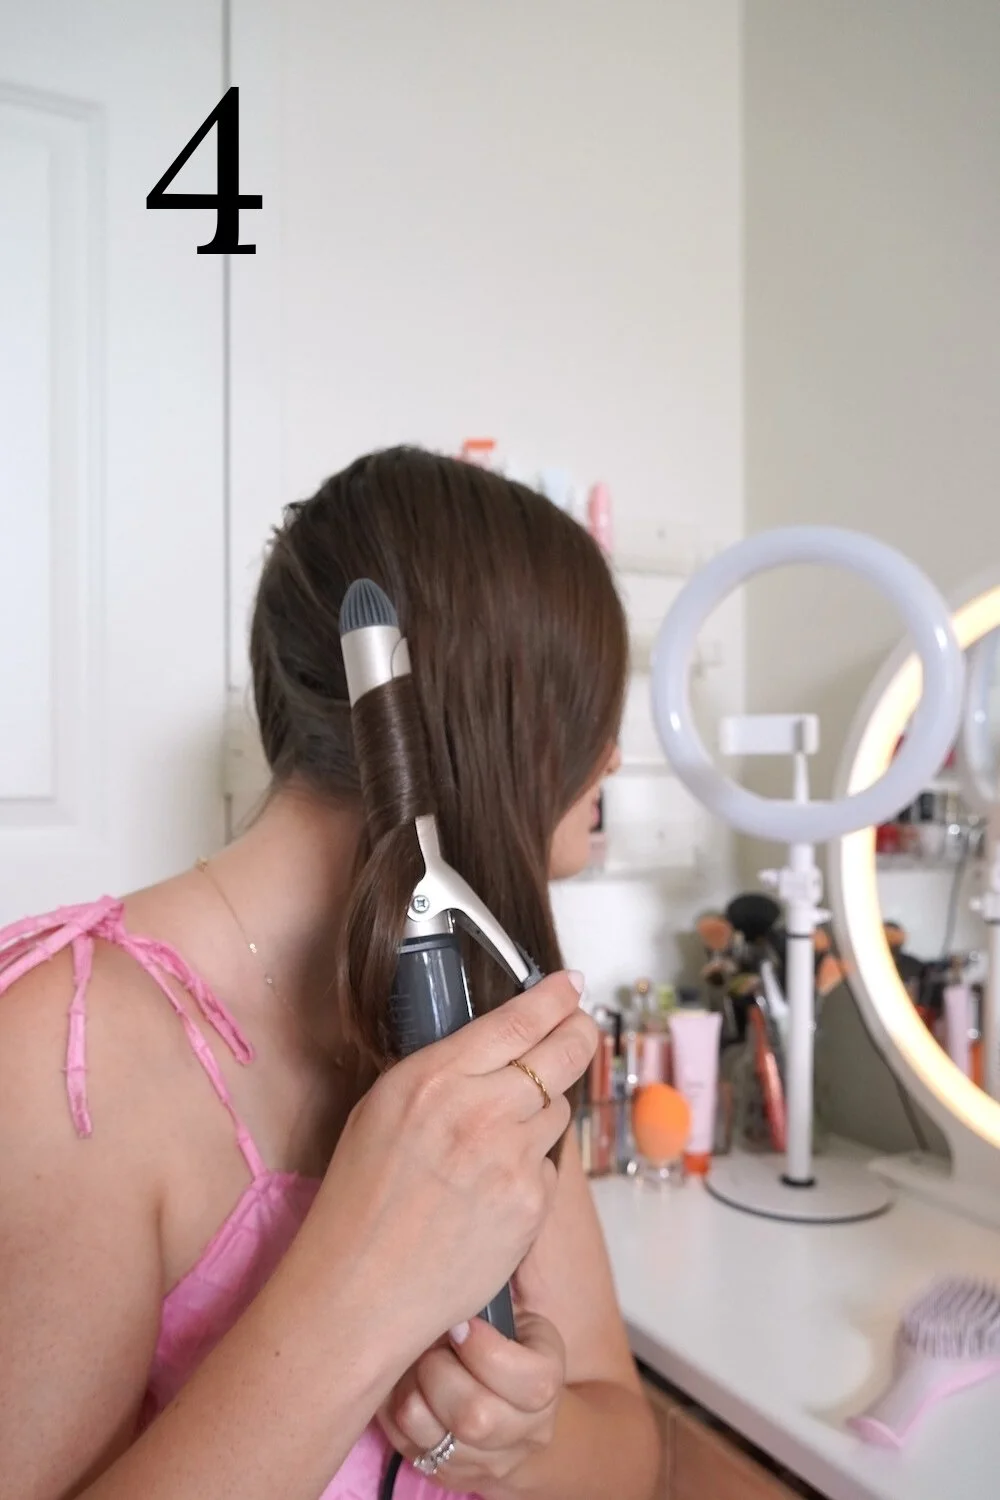
4. Pick up 1-Inch sections of hair
Starting with one section, take a 1-inch section of hair. You want to make sure these sections are at least 1-inch because smaller sections will result in tighter curls and won’t give the loose look we’re going for here.
5. Wrap hair around barrel and secure with clamp
Wrap the section of hair around the barrel of the curling iron, starting from the end and guiding the hair around the barrel.
Use the clamp to hold the hair in place, leaving about an inch out at the end. This will give your curls a more natural look.
If you wanted your curls to be more polished, you could tuck the full strand under the clamp.
6. Alternate directions as you curl
For a more natural, tousled look, alternate the direction you wrap each section. Curl one section away from your face, and the next one towards your face.
You may find it easier to curl in one direction than the other, but just take your time as you go.
7. Take down the section section
Once you've curled the first section, release the second section of hair. This ensures you’re not skipping any strands.
If you’re worried about the finished section overlapping, you can always clip it back.
8. Repeat on the other side
Repeat the same process on the other side of your head. Remember to alternate directions and leave out an inch at the end of the clamp for a more natural look
9. Curl your bangs
If you have bangs or face-framing pieces, curl them away from your face to add more volume and keep the strands away from your eyes.
Don’t forget to turn the curling iron off when you’re done using it!
10. Set with hairspray
Grab your favorite hairspray and hold the can about 6 inches away from your head.
Give your curls a light all-over mist—this will help set the curls and keep them in place all day.
11. Comb through
Once the hairspray has dried, gently comb through your curls with a wide-tooth comb.
This will help separate the curls and give them a more relaxed look but it won’t undo them completely thanks to the hairspray.
12. Use your hands
Finally, run your fingers through your hair to finish off the look. This will break up any clumps and give your curls a natural, effortless vibe.
If you want to add a bit of extra shine, you can also add a bit of hair oil to your hands before you do this step.
Pro tip: want to create more beachy waves? Leave more than an inch of hair out as you curl the hair for an even more natural look.
And there you have it!
Remember, practice makes perfect, so don't get discouraged if it takes a few tries to get the hang of it.
It took me a few years before I truly nailed this routine and now it is my all-time favorite way to style my hair.
If you have any questions, please leave me a comment down below!
yours,
Austen


